The journey into homemade candle making often begins with a single, crucial step: melting the wax. For many artisans, both new and experienced, using a hot plate for wax melting is the gateway to creating beautifully scented, personalized candles. This essential tool is a cornerstone of any crafter's setup, forming the heart of the wax melting equipment needed to transform solid wax flakes into a liquid masterpiece. Whether you're using a dedicated electric pot from a candle making kit or a multifunctional warmer, understanding the process is key to a successful and enjoyable creative session.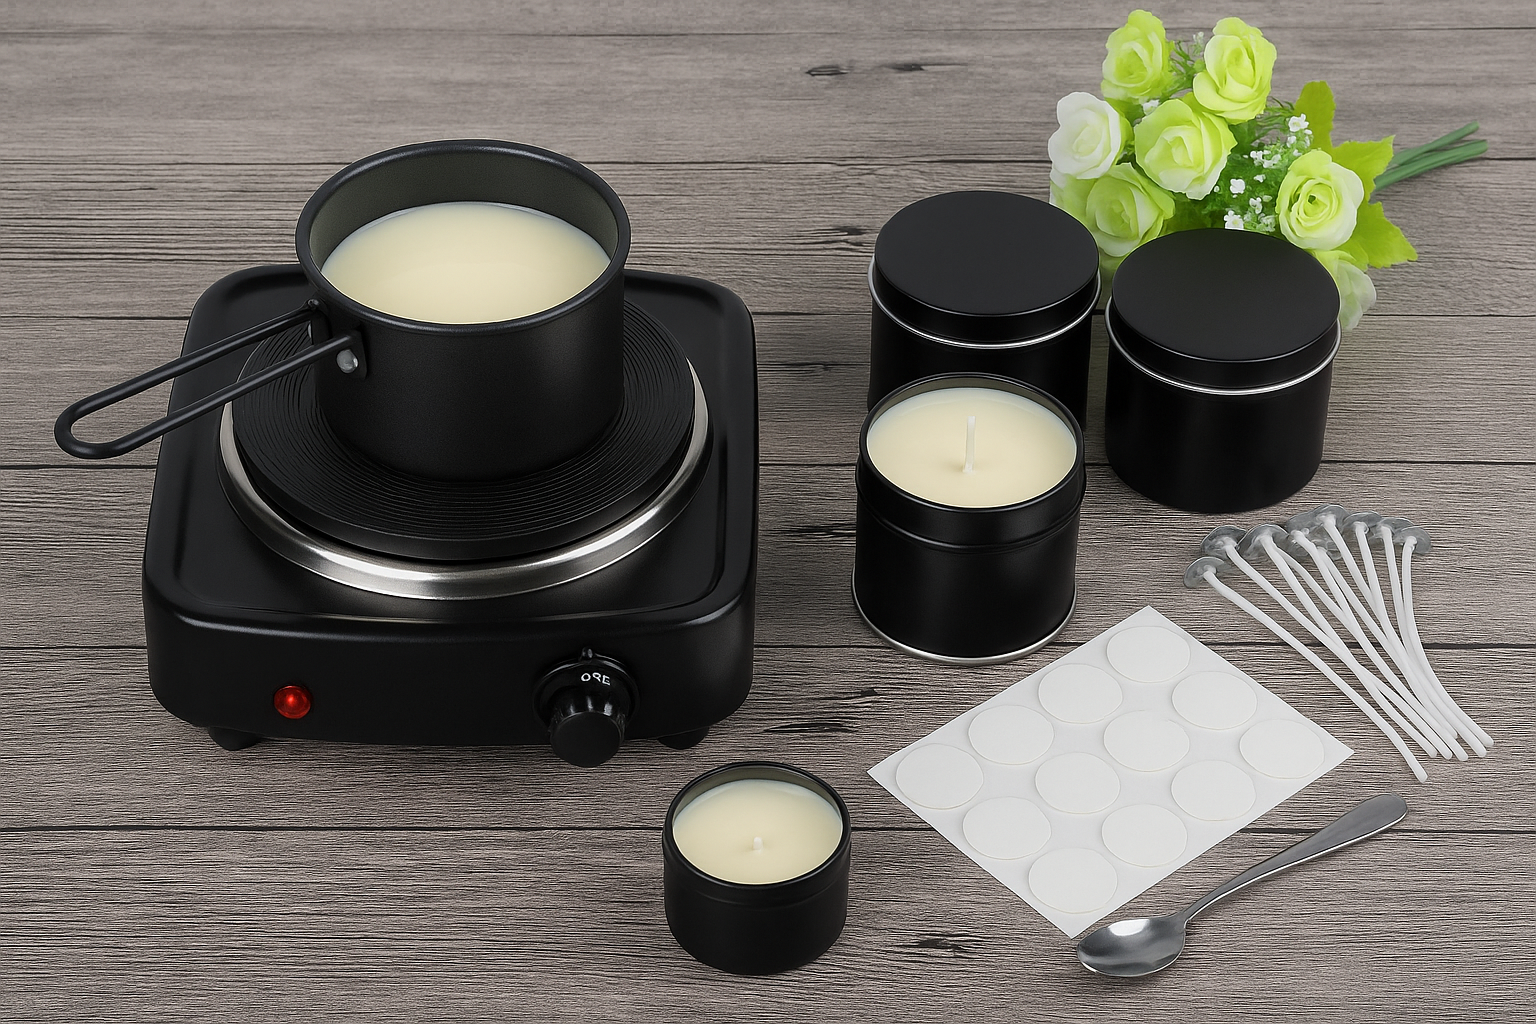
Choosing Your Ideal Wax Melting Equipment
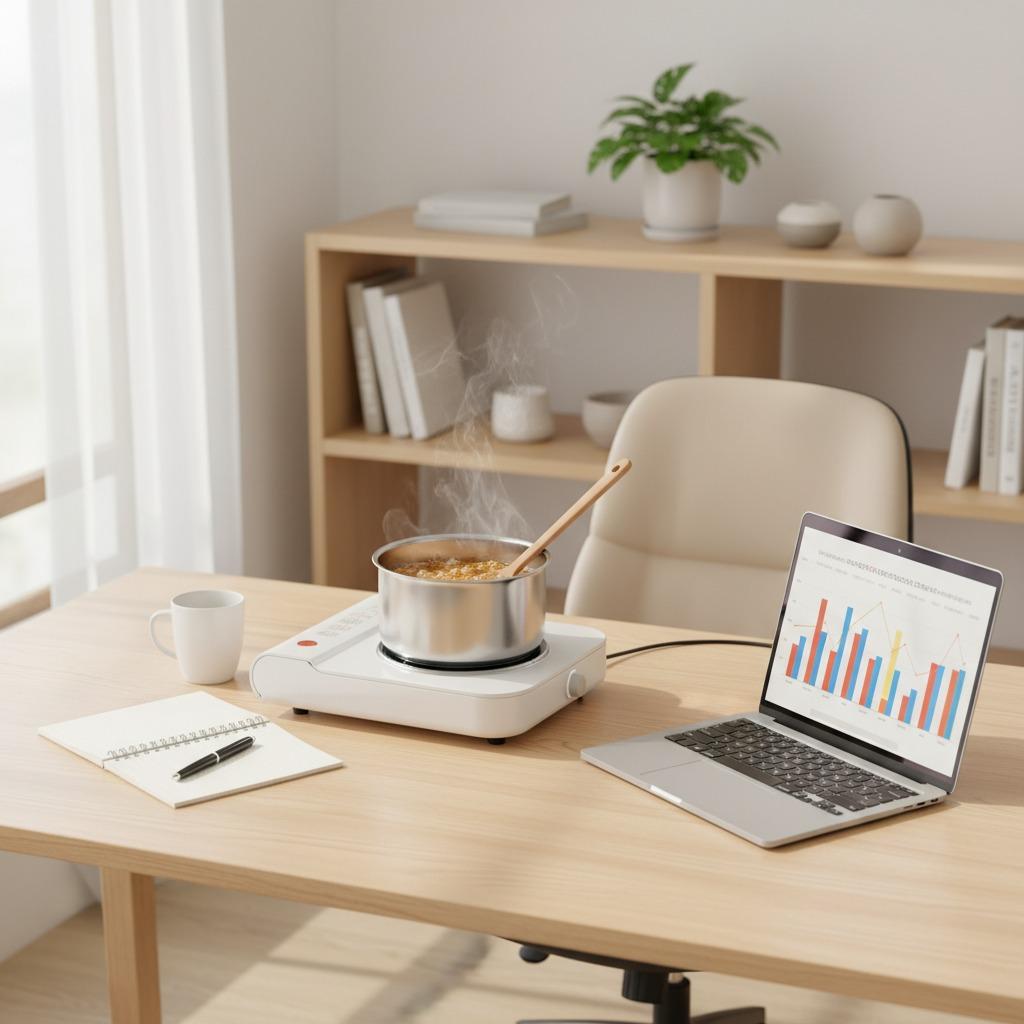
Selecting the right tools can make all the difference in your candle-making experience. Modern kits often include specialized electric pots designed for this very purpose. These devices typically feature precise temperature control, which is vital for handling different types of wax, from soy to paraffin. Their compact design ensures they fit neatly into any workspace without sacrificing safety or performance. Another fantastic option is a multifunctional warmer. These versatile devices not only melt candle wax and scented cubes safely without an open flame but can also double as a warmer for your morning coffee or tea. This blend of ambiance and practicality makes them a valuable addition to any home, catering to both your creative hobbies and daily routines.
How to Melt Wax on a Hot Plate: A Simple Guide
If you're wondering how to melt wax on a hot plate, the process is straightforward and meditative. Begin by placing your electric hot plate or warmer on a stable, flat, and heat-resistant surface. Measure your desired amount of wax flakes and place them into a durable pouring jug, often made of stainless steel for easy cleaning and heat conduction. Place the jug onto the warmer and set it to a low or medium temperature. As the wax begins to liquefy, stir it gently with a non-porous utensil to ensure an even melt and prevent hot spots. Once the wax is completely liquid and clear, you can turn off the heat. This is the perfect moment to stir in your chosen fragrance oils and color blocks, allowing them to fully incorporate into the wax before you pour it into your prepared candle tins.
Crucial Hot Plate Safety Tips for Wax Melting
Safety should always be the top priority when working with heat and hot wax. Following a few hot plate safety tips for wax melting will ensure your crafting session is free from accidents. Most importantly, never leave your active hot plate unattended. Wax is flammable at high temperatures, so constant supervision is a must. Always work in a well-ventilated area to disperse any fumes from the wax or fragrance oils. Keep your workspace clear of any flammable materials, and place your equipment far from the reach of children and pets. Using a dedicated wick holder will keep your wick centered and secure, preventing mishaps during the pouring process. By respecting the tools and materials, you create a safe environment where your creativity can truly flourish, resulting in beautiful candles that light up your space with warmth and a story unique to you.